Wubi is a very nice tool if you want to try out Ubuntu for the first time. It allows you to install Ubuntu alongside Windows, without re-partitioning your hard-drive. All this from the CD-ROM if you load it in computer while Windows is running, or downloadable as a standalone app.
The Ubuntu QA team is always looking for help to test installing Ubuntu using Wubi. It's both a great way to try Ubuntu if you really still need to run Windows on your computer and want to help out with testing Ubuntu, or as any kind of first jump into testing and QA. Testing efforts are being tracked on the Ubuntu ISO Tracker. If you want to help, please read the documentation first.
So if you chose to download Wubi's standalone application, double-click on its icon, or load in the Ubuntu CD-ROM you may have just burned (or received from shipit or your LoCo team).
If you're using a CD-ROM, Wubi should start automatically (or in Windows 7, you should see an autorun dialog).


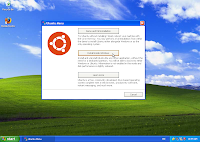 The install application gives you three choices. The first one being to reboot your system and use the CD-ROM directly to demo and install Ubuntu, the third sends you to the Ubuntu website.
For the purpose of this post I will instead walk you through option 2, which is to install Ubuntu alongside Windows, from within Windows.
 You will then be presented with all the questions that make sure the installer knows everything it needs to know about the installation of Ubuntu you want to do. Choose your username, password, and where you want to install Ubuntu (which Windows harddrive, C:, D:, or whatever), what language you want to see Ubuntu in, etc.
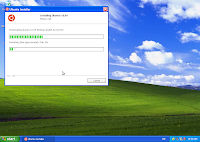 If you're using the standalone Wubi app, you will need to wait a bit while the Ubuntu CD ISO image is being downloaded. The image is necessary, as the standalone app does not contain the required packages for the install.
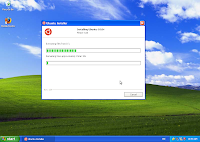 Wubi will then proceed to the next part of the installation, which is to copy everything it needs to your hard drive in a ubuntu folder on the hard drive you selected in the preceeding screen.
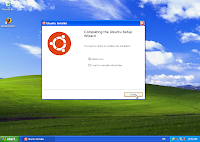 Once the first part of the installation is over, select what you want to do... my preference is to reboot right away and carry on with the rest of the installation procedure.
 Once your computer has booted, you will be presented with a menu. That menu will time out and default to Windows after a few seconds. Choose Ubuntu to continue with the installation.
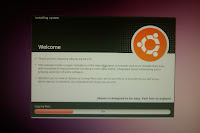 You are now booting into the real thing: at this point you are in Ubuntu, but the installation isn't quite done yet, so grab a (quick) coffee while the last tidbits get copied and configured.
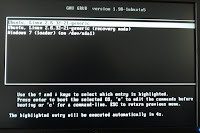 At the end of the second part of the installation, your computer will reboot again, present you again with the first menu where you will want to choose Ubuntu, and show an additional menu where you can choose to start Ubuntu in recovery mode, should you need to fix a broken installation. From there, you can also go back to Windows.
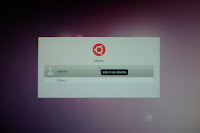 Voilà, the installation is done. At this point, all that is left to do is click on your username in the lis and enter the password you chose back in Windows during the first phase of the installation to get to the Ubuntu desktop.


